


Styling Rugs for an Interior Photoshoot
To style a rug for an interior photoshoot, square it to the walls and the camera, brush the pile in one direction, relax any fold lines a day before, and decide where the light falls so a sheen rug reads evenly. Then crop so the rug's edge is either clearly in the frame or confidently out of it.
In short
- Lay the rug a day early so packing folds and curled corners relax before the photographer arrives.
- Square it to the main wall and the camera axis; a rug a few degrees off reads as a mistake in a wide shot.
- Brush or vacuum the pile in one direction, especially on sheen rugs, which show every footprint as a lighter or darker patch.
- Shoot pattern and carving with low side light, plain rugs with soft frontal light, and keep the rug's edge in or out of the frame on purpose.
Why does the rug matter so much in interior photographs?
In most wide interior shots the rug is the largest single surface after the floor and walls, so the eye reads it before the furniture. A crooked edge, a crease or a patch of crushed pile is visible at any size, while a well set rug makes the whole frame feel calm.
A designer's portfolio, a press feature and a social post all depend on a handful of images taken in a few hours. The furniture is fixed and the walls are painted, but the rug can move, wrinkle and mark in the hour before the shoot. It deserves its own place on the shoot checklist.
Photographs also flatten texture. A carved or high low surface that looks rich in the room can disappear in a flat, frontal light. Planning how the rug will be lit is as important as placing it, which is why this guide covers both.
The same principles apply to developer show flats, which are covered in our guide to rugs for show flats.
How should a rug be prepared the day before a shoot?
Unroll the rug at least a day before the shoot, in its final position, so folds and curls can relax under the warmth of the room. Vacuum it, check the corners, and walk off the area so the pile stays undisturbed.


- Unroll and settle: lay the rug flat a day early. A rug that arrived rolled or folded may hold a ridge for a few days.
- Corners: if a corner curls, reverse roll it for a few hours or rest a stack of heavy books on it overnight.
- Vacuum: lift lint, dust and loose fibre, which shows as specks in close shots.
- Underlay: fit a non slip underlay so the rug does not creep when the stylist moves furniture.
- Protect: keep shoes off it from this point; lay a path of paper or a runner for the crew.
Never iron or steam a rug to remove a crease. Heat can flatten wool permanently and will damage Botanical Silk. Time and the room's warmth are the safest tools.
How do you square and place a rug for the camera?
Square the rug to the main wall and to the camera's line of sight, centre it on the furniture group, and check it from the camera position, not from standing height. A rug that is a few degrees off looks careless in a wide, symmetrical frame.

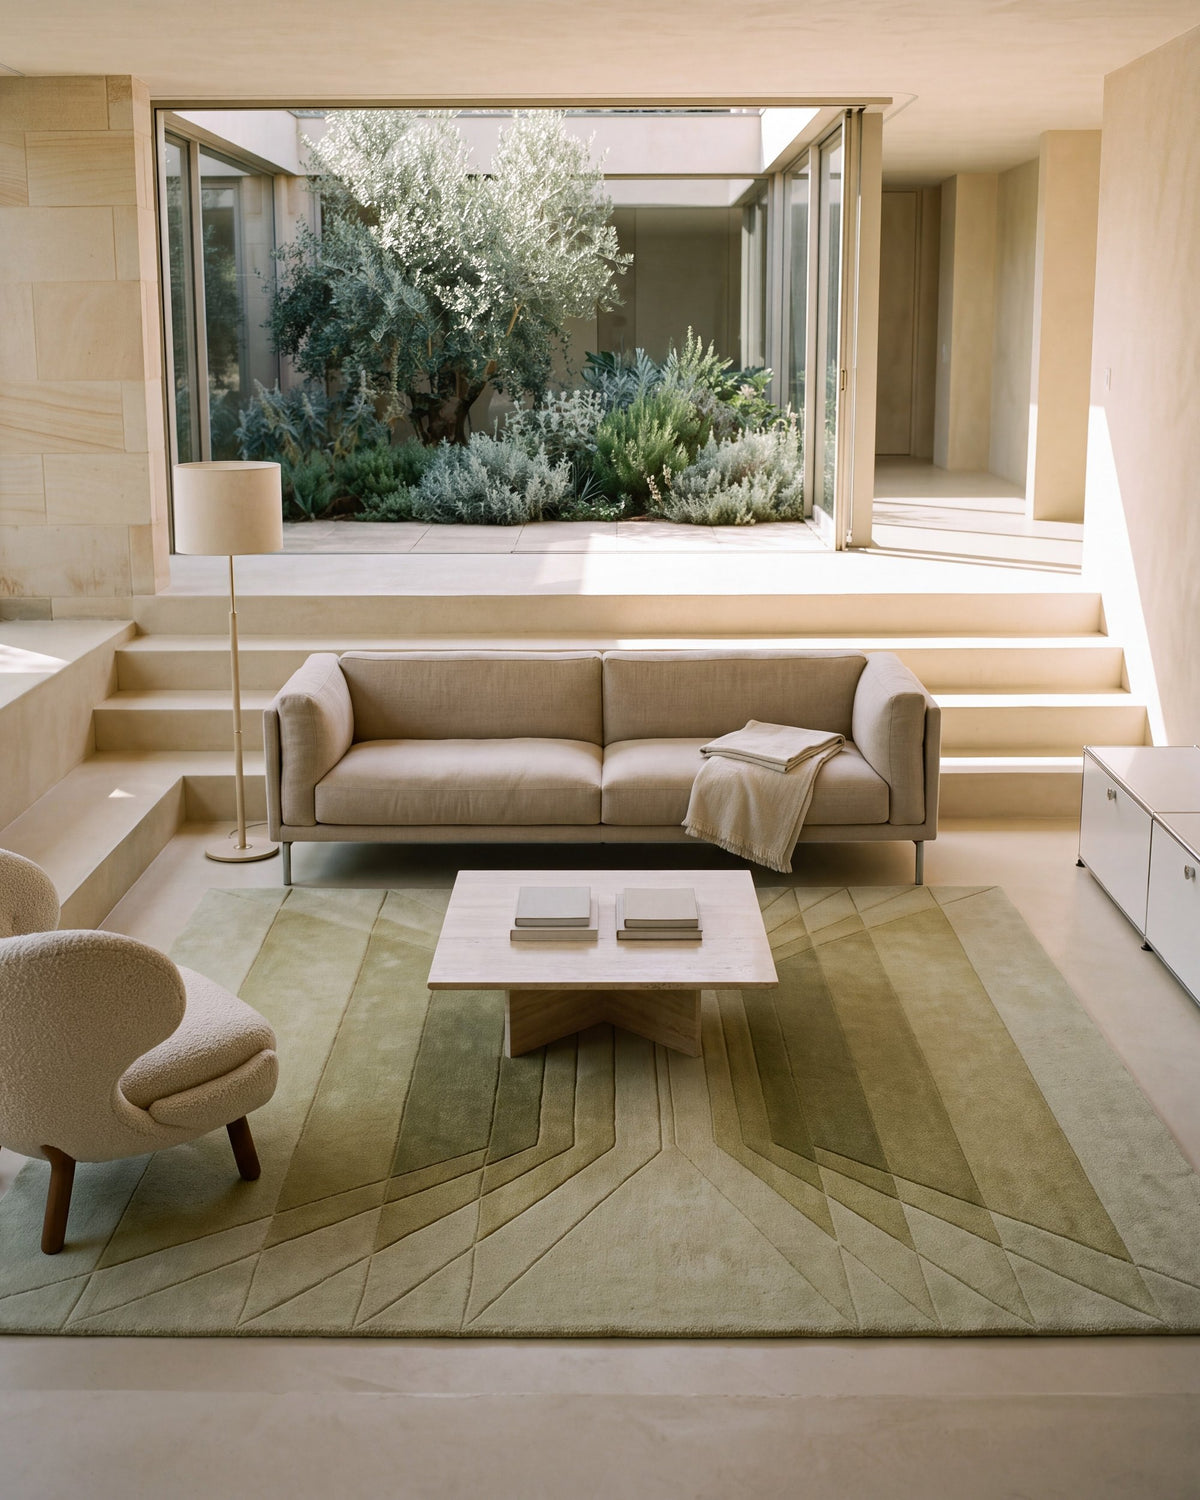
Photographers often shoot a living room from a low, central position, looking straight at the sofa. In that view, the front edge of the rug runs across the bottom of the frame and any angle in it is obvious. Use the floor joints or a tape measure from the wall at both ends to get it parallel.
Check the furniture legs too. The front legs of the sofa and chairs should sit on the rug by the same amount, and the coffee table should be centred on it. A rug that sits too far forward shows a large empty band of pile in front of the table, which reads as wasted space.
For angled shots, the rug can follow the room rather than the camera. What matters is that it relates to the walls and the furniture in a deliberate way.
A rug a few degrees off reads as a mistake in a wide shot. Square it from the camera, not from where you stand.
How does light change the way a rug photographs?
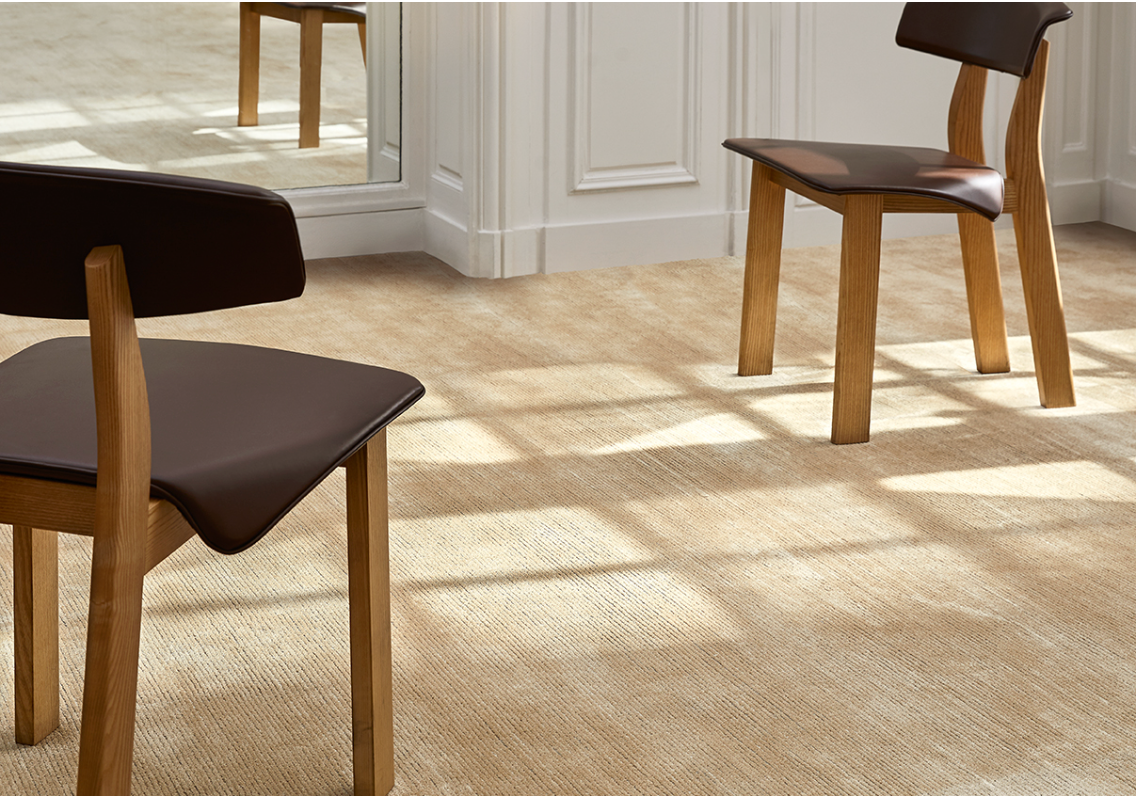
Low side light brings out carving, loops and texture, while soft frontal light shows colour most accurately. Sheen rugs change the most: the same rug can look pale from one side and deeper from the other, depending on which way the pile faces the light.
| Rug type | Best light | What to watch | Rugberry example |
|---|---|---|---|
| Carved or stepped wool | Low side light from a window | Flat frontal light hides the carving | Cavea Wool Rug |
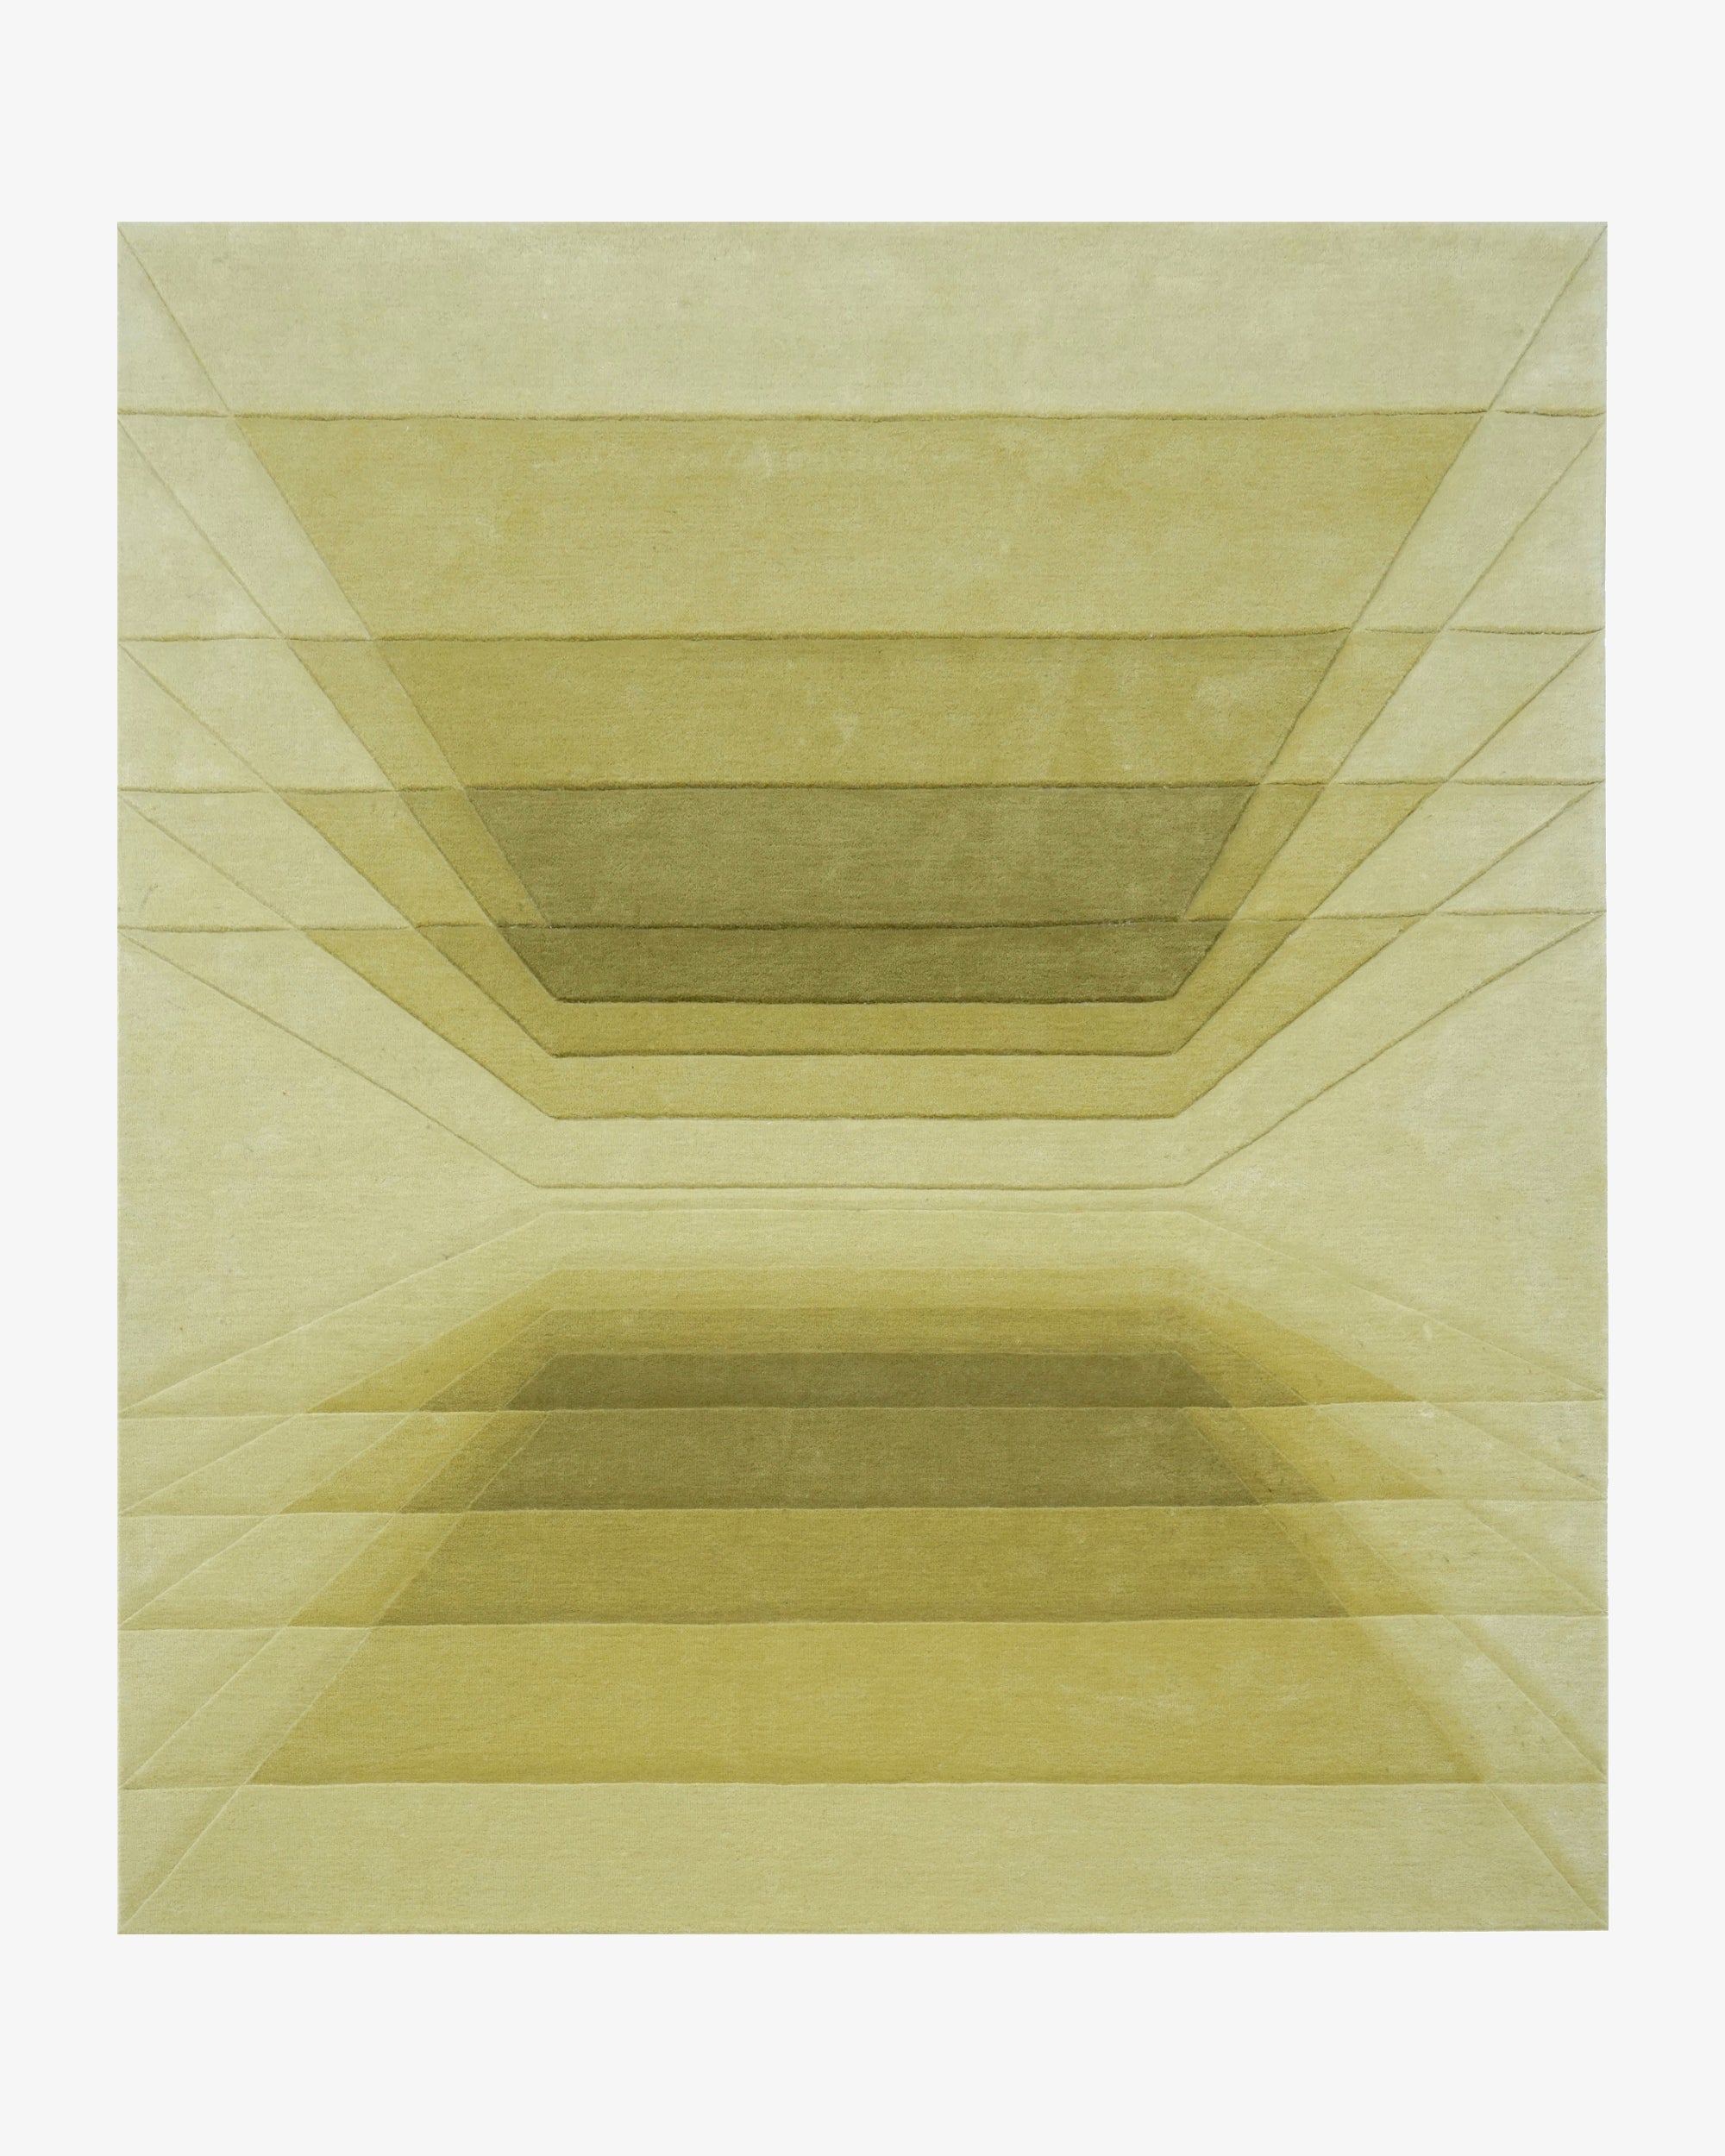
| Wool and Botanical Silk pattern | Soft side light | Footprints show as patches; brush one way | Velocity Wool & Silk Rug |
| Deep plain pile | Soft, even daylight | Crushed areas where people stood | Plush Wool Rug, Sand |
| Plain ivory wool | Diffused light, no hard sun | Overexposure loses all texture | Ivory Wool Rug |
| Jute and flat weaves | Side light | Looks dull in flat light | Masai Jute Rug |
The Cavea Wool Rug is hand tufted in New Zealand wool at 14 to 16 mm, part of the carved Lamina collection. Its stepped surface only reads in a photograph when the light skims across it. Its regular price is ₹40,000 for 5x8 ft and ₹80,000 for 8x10 ft, ex GST at the time of writing.
Our guides to rug lighting and sheen and rug colour in natural light explain why the same rug changes through the day.
How do you brush the pile for photographs?
Brush or vacuum the pile in one direction just before the shoot, ideally with the pile lying away from the camera so the rug looks even. On sheen rugs, do this last, after the furniture is in place, because every footstep leaves a visible mark.


Every cut pile rug has a pile direction. Looking into the pile, the rug appears darker and richer; looking with it, the rug appears lighter and shinier. Pick the look the photographer wants and brush the whole surface to match.
Use a clean, soft clothes brush or a vacuum with suction only, working in long, straight strokes from one side to the other. Then leave the rug alone. If someone must cross it to adjust a cushion, brush out the footprints before the next frame.
Deep pile rugs show crushing where furniture was moved. The Plush Wool Rug in Sand is handloom woven in New Zealand wool at 18 to 20 mm; its regular price is ₹40,000 for 5x8 ft and ₹79,000 for 8x10 ft, ex GST at the time of writing. A few minutes of brushing lifts the marks where a chair leg stood before the shot.
How should a rug be cropped and framed in portfolio images?
Either show the rug's edge clearly, with floor visible around it, or crop it out entirely so the rug reads as a field of colour. Cutting through a corner or showing a thin sliver of edge at the frame's border looks accidental.


- Wide room shot: include the front edge and both front corners, with some floor showing. The rug defines the seating group.
- Vignette: a chair, a side table and part of the rug. Let the rug fill the bottom of the frame without its edge.
- Detail shot: a close crop of the texture, ideally in side light, with a hand, a book or a chair leg for scale.
- From above: a top down shot shows a pattern rug's design and works well for social posts.
The Velocity Wool & Silk Rug is hand tufted in New Zealand wool and Botanical Silk, drawn in fast directional strokes. In a top down shot the strokes read as a design; in a low wide shot they become texture. Its regular price is ₹41,000 for 5x8 ft and ₹82,000 for 8x10 ft, ex GST at the time of writing.
What should go on a rug checklist for the shoot day?
A short rug checklist on the shoot day saves retakes: vacuum and brush, check squareness from the camera, confirm the furniture legs, remove labels and swing tags, and check for lint before every frame.
- Swing tags, stickers and loose threads removed from the back and edges.
- Rug square to the wall and camera; furniture legs set evenly.
- Pile brushed in one direction, footprints brushed out.
- Lint and specks lifted with a lint roller on dark rugs.
- Underlay invisible from every camera position.
- Product name, fibre and size noted for credits and captions.
Finally, photograph a plain reference frame of the rug alone in daylight before styling begins. It becomes the colour reference for the editor when the final images are graded.
Caption the rug with its fibre and construction, as Rugberry does on its own pages. For press and social credits, the Rugberry Trade Program gives designers a downloadable tearsheet for each rug with the full specification.
Frequently asked questions
How do I remove fold lines from a rug before a photoshoot?
Unroll the rug in place a day or two before and let the room's warmth relax it. Rest heavy books on stubborn ridges or reverse roll a curled corner. Never iron or steam the rug.
Why does my rug look a different colour in photos?
Cameras react to the light's colour and to pile direction. Warm lamps push a rug yellow, cool daylight pushes it grey, and sheen fibres look lighter or darker depending on the angle. Shoot in consistent light and set white balance on a neutral card.
Should the whole rug be visible in an interior photo?
Not always. In a wide room shot, show the front edge and corners so the rug anchors the seating. In closer vignettes, crop the edge out entirely so the rug becomes a field of colour.
What is the best time of day to photograph a textured rug?
Early morning or late afternoon light, coming low through a side window, shows carving and loop textures best. Midday light from above tends to flatten a rug's surface.
Can I credit Rugberry rugs in project photographs?
Yes. Credit the rug by name, fibre and construction, for example Cavea Wool Rug, New Zealand wool, hand tufted. Trade members can download tearsheets with the full details.
A good photograph starts with a rug set with care. Browse pattern rugs and the carved Lamina collection, both of which reward a little side light. Material first.




Leave a comment
This site is protected by hCaptcha and the hCaptcha Privacy Policy and Terms of Service apply.